
How to apply vinyl decal?
Vinyl Decal Application
1. Clean the Surface
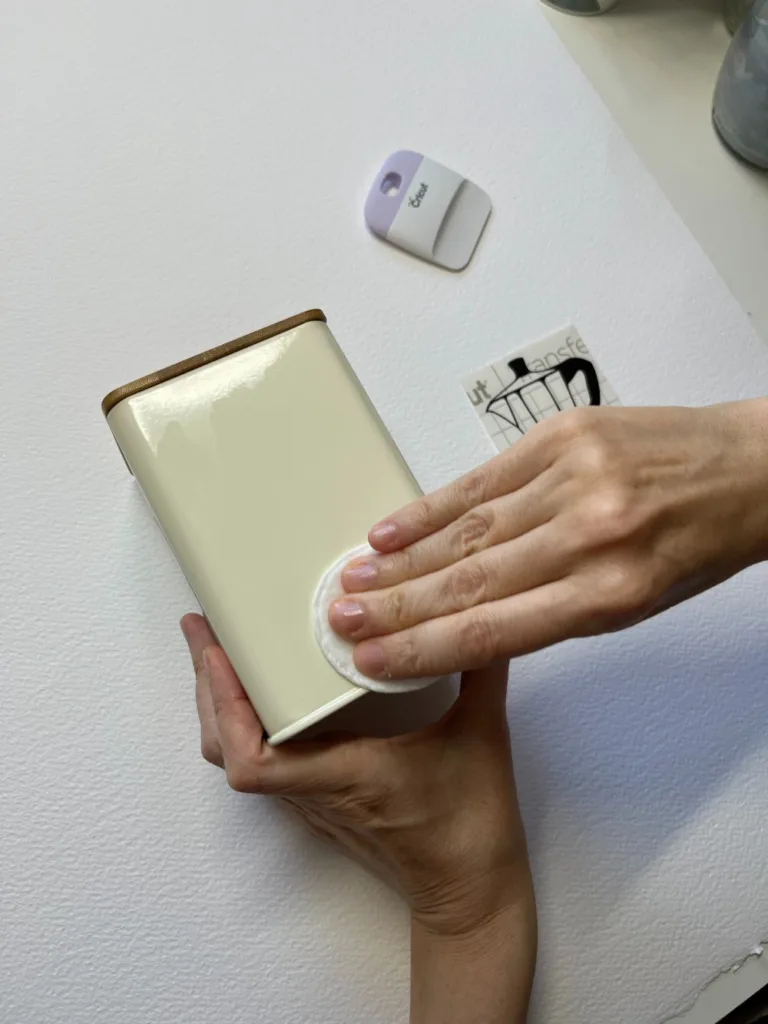
Use a mild cleaner or alcohol to remove any dirt or grease. This ensures better adhesion of the vinyl decal..
2. Prepare the Decal
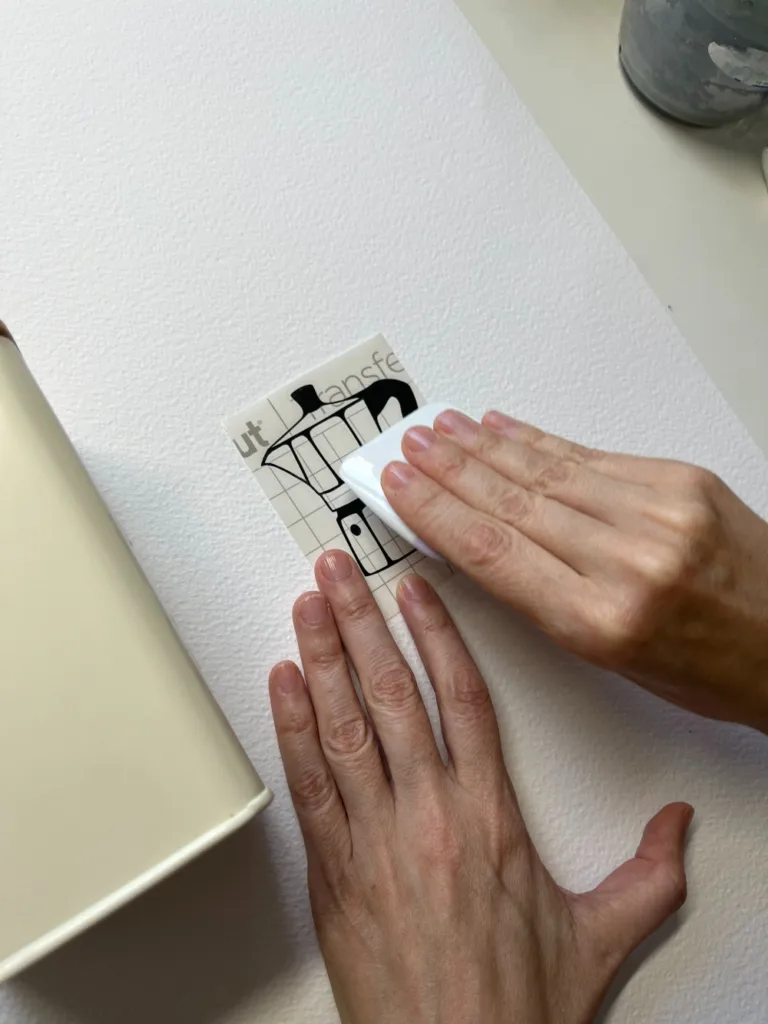
Lay the decal on a flat surface and rub over the transfer tape with a squeegee or a credit card. This helps to ensure the decal will stick to the transfer tape when peeling it off the backing.
3. Peel off the Backing
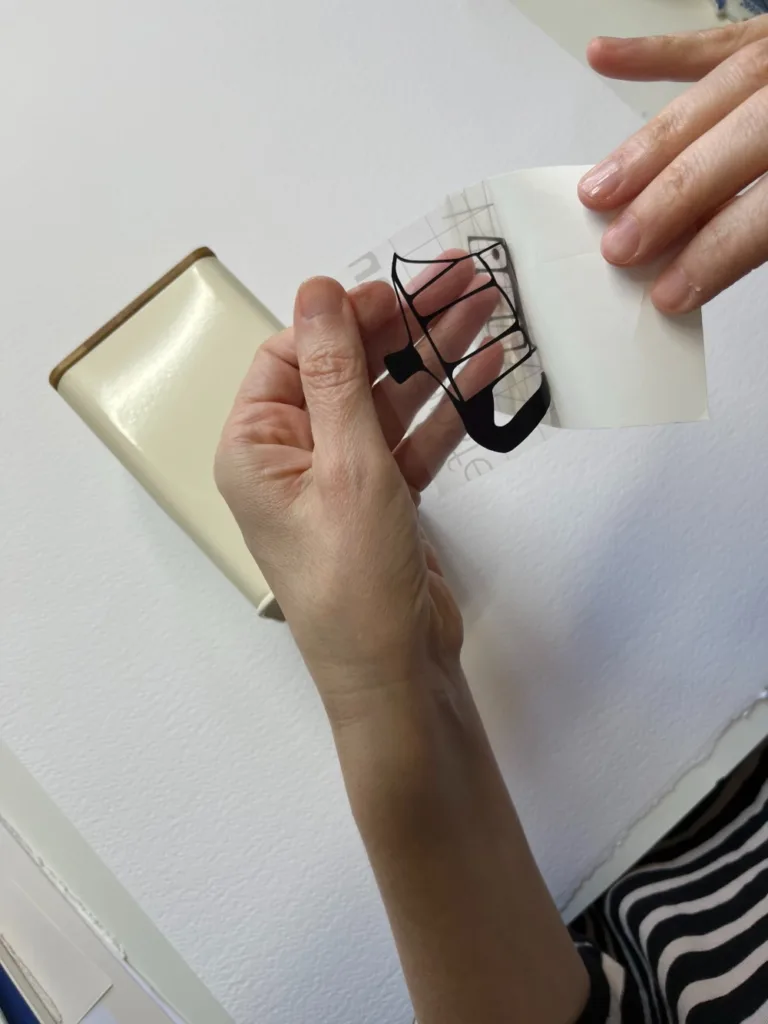
Carefully peel the backing paper away from the transfer tape. The vinyl decal should stick to the transparent transfer tape. If any part of the decal remains on the backing, gently press it back onto the transfer tape and rub it again.
4. Position and apply the Decal
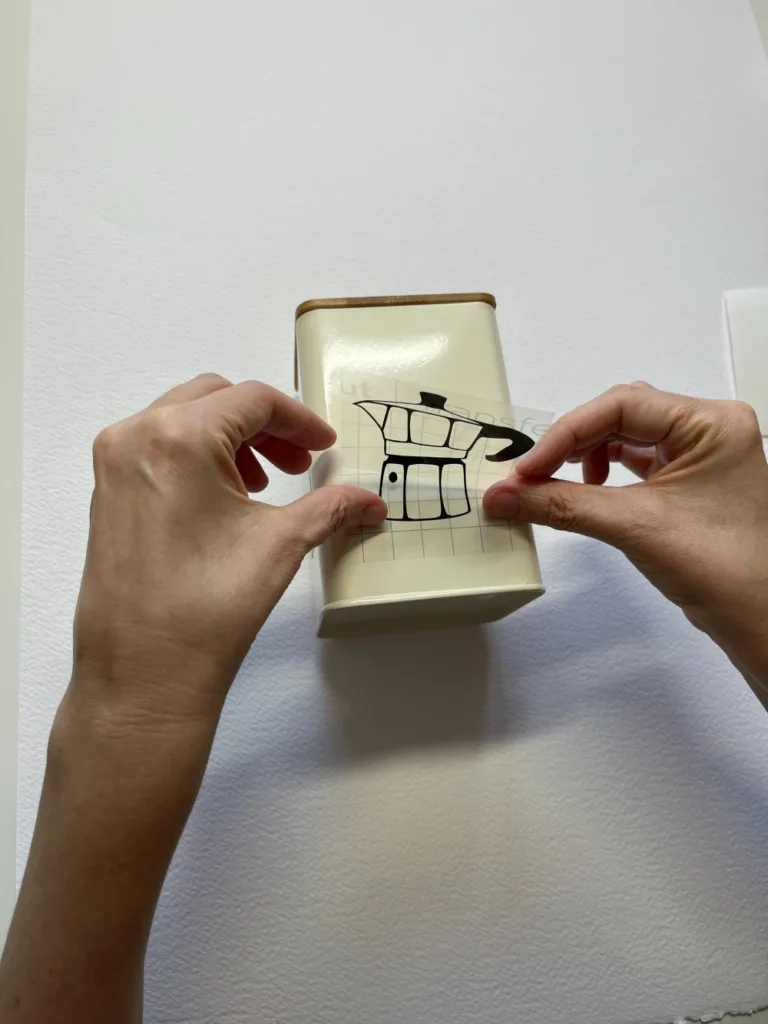
Carefully position the decal (with the transfer tape) on the desired surface. Start from one side (either top, bottom, left, or right). Gradually press the decal down with your fingers, moving steadily from one side to the other. This method helps prevent the entire decal from sticking at once, which can lead to unwanted wrinkles or bubbles.
5. Press Down Firmly
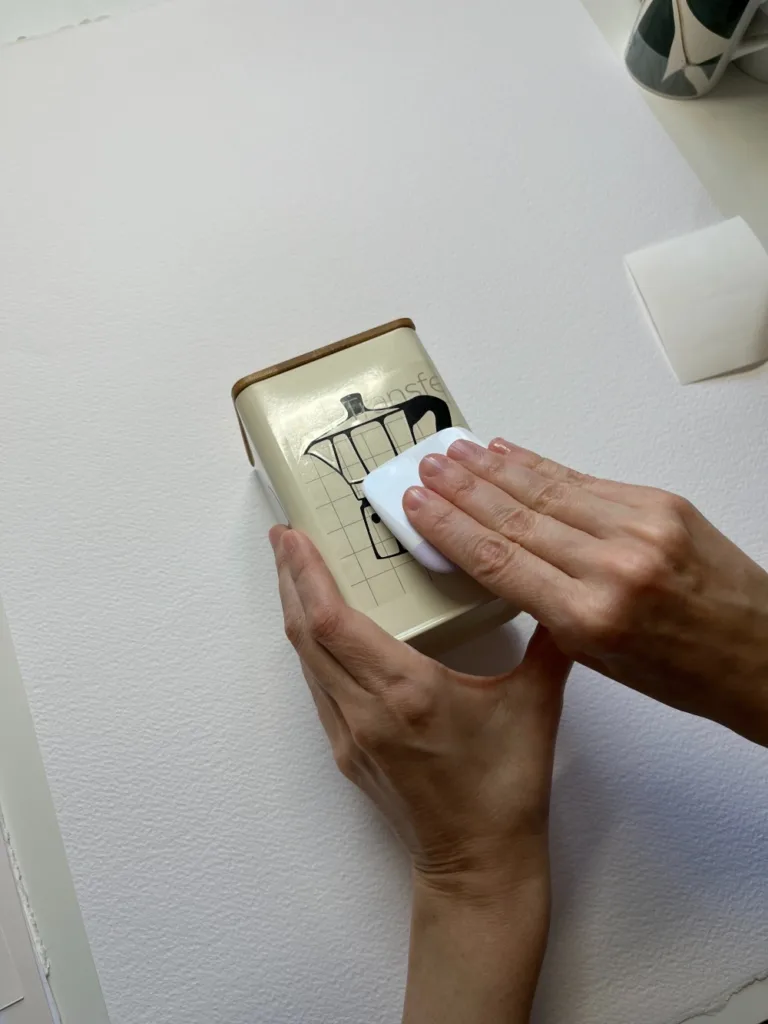
Once the decal is in place, use a squeegee, credit card, or similar tool to press it down firmly. This step is crucial to ensure good adhesion and to eliminate any air bubbles.
6. Remove the Transfer Tape
Slowly peel off the transfer tape at a 45-degree angle. If the decal starts to come off with the tape, lay it back down, rub it more, and try again. If there are any air bubbles, gently push them out to the edge of the decal with a squeegee or a credit card. Small bubbles usually disappear within a few days.

